 Largo Siding
 New-Construction Windows in Safety Harbor: Why the Details Matter More Here
Safety Harbor sits on Old Tampa Bay in Pinellas County, close enough to open water that every window on a home is exposed to the same forces that wear down a boat: salt-laden air, intense sun, and wind that can turn violent with almost no warning during hurricane season. When you're building new or adding on, the window install is one of the few chances you get to do this correctly from the rough opening out — not patched around an existing frame. That's the whole idea behind "new-construction" windows, and it's worth understanding before crews show up with a truck full of glass.
We work as a local crew based in the Largo area, and Safety Harbor is regularly on our schedule. That matters more than it sounds like it should, and we'll explain why further down. First, let's cover what this job actually is and what it takes to do it right.
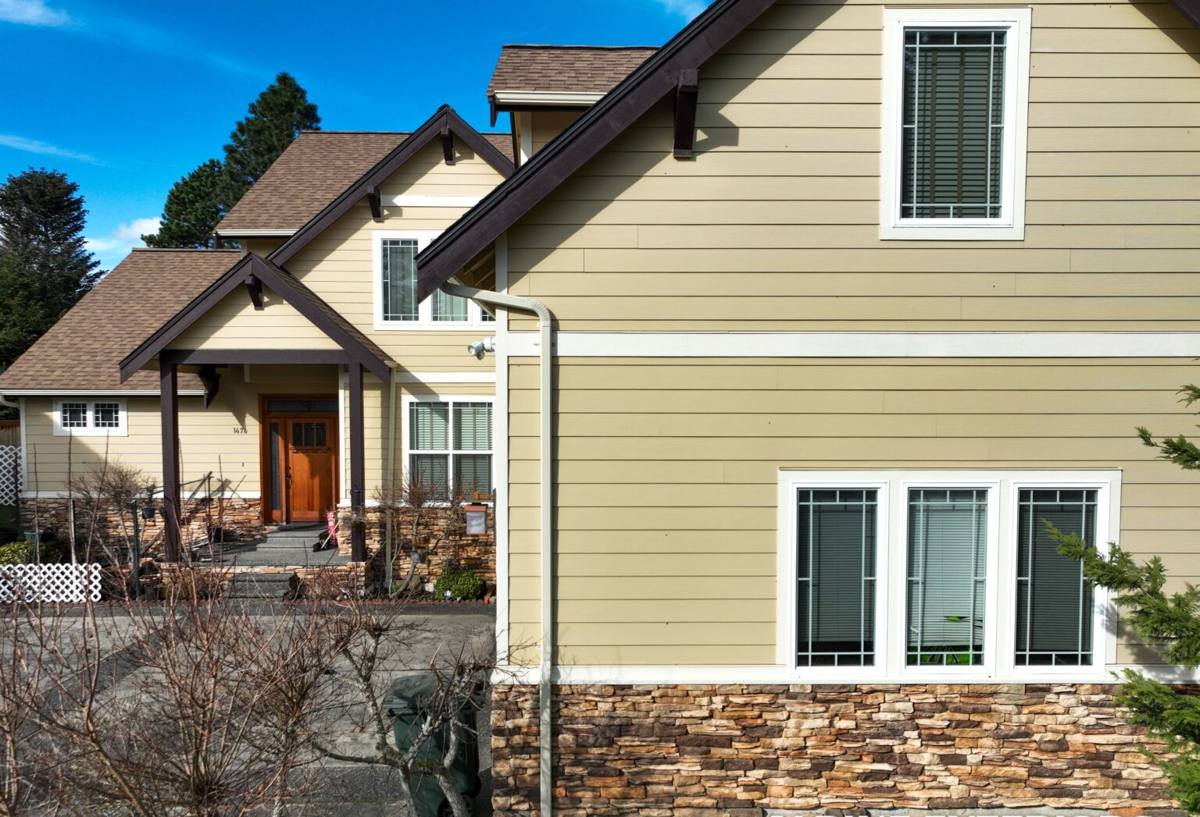
New-Construction vs. Replacement Windows: Not the Same Job
The term "new-construction window" doesn't just mean a window installed in a new house. It refers to a specific type of window unit and a specific installation method — one that's also used any time an addition, a full renovation, or a window opening resize takes the wall down to bare studs.
The Nailing Fin
A new-construction window has a flange, or nailing fin, around the perimeter of the frame. That fin gets fastened directly to the wall sheathing and integrated into the water-resistive barrier (house wrap or felt) before the exterior siding or stucco goes on. This is fundamentally different from a "replacement" or "pocket" window, which is sized to slide into an existing frame with no access to the sheathing or wall cavity behind it.
Why the Distinction Matters
Because a new-construction install happens before the wall is closed up, we can see and correct problems that a replacement install simply can't reach — rot in the framing, gaps in the sheathing, missing or torn house wrap, improper stud spacing around the opening. Skipping that inspection step is one of the most common ways a window ends up leaking two or three years down the road, long after the siding has hidden the mistake.
What Safety Harbor's Climate Actually Demands
Every window job in Pinellas County has to hold up to the same three-part stress test: wind, sun, and moisture. Safety Harbor's bay-front location doesn't change the building code, but it does raise the stakes on getting the details right.
Wind and Windborne Debris
Florida Building Code requires windows in coastal wind-borne debris regions — which includes Pinellas County — to carry documented product approval for the wind loads and impact requirements that apply to the specific home and its location. That approval has to match the actual window installed, not just the general product line, and the installation method (fastener type, spacing, embedment into structural framing) has to match what the approval was tested with. An impact-rated window installed with the wrong fasteners or the wrong shim pattern doesn't perform like the tested assembly — it performs like whatever was actually built.
Wind-Driven Rain
Straight-down rain is not the problem. Rain pushed sideways into a wall by sustained wind is what finds every shortcut in a window install. New-construction windows rely on a specific sequence — sill pan, then fin integration, then step-flashed house wrap, then sealant — to shed that water back out before it ever reaches the framing. Get the order wrong and the assembly can trap water instead of draining it, which is worse than having no flashing at all.
UV and Salt Air
Year-round Florida sun breaks down cheap sealants and degrades certain vinyl and weatherstripping products faster than in most of the country. Add in the salt content that comes off Old Tampa Bay and settles on everything nearby, and you get accelerated corrosion on fasteners, hardware, and screen frames that aren't rated for a marine-influenced environment. None of this is unique to Safety Harbor, but homes closer to the water feel it sooner than homes ten or fifteen miles inland.
What a Correct Installation Actually Involves
There's no shortcut version of this that holds up long-term. A proper new-construction window install follows the same general sequence every time:
- Inspect and repair the rough opening — framing, sheathing, and any water damage found before the window ever shows up.
- Install a sloped sill pan so any water that gets past the window drains back outside instead of pooling on the sill.
- Set the window plumb, level, and square, shimmed at the manufacturer's specified points — not just at the corners.
- Fasten the nailing fin per the product's approved fastener schedule, into structural framing.
- Integrate the house wrap or building paper over the fin using a shingle-lap sequence, so water always flows down and out, never into a seam.
- Seal and back-caulk per the manufacturer's instructions, using sealant rated for exterior, high-UV exposure.
- Verify operation, weep holes, and drainage before the opening is closed in with siding or stucco.
Miss step two or five and the window can look perfect from the outside for years while quietly failing behind the wall. This is exactly why the work has to happen in the right order and get inspected at each stage, not just at the end.
Frame Material Trade-Offs for New-Construction Jobs
Material choice matters more on a bay-adjacent build than it does further inland. Here's how the common options compare for a Safety Harbor project, honestly:
| Frame Material | Wind/Impact Performance | Salt Air Resistance | Maintenance | Best Fit |
|---|---|---|---|---|
| Vinyl | Good, with proper reinforcement in larger sizes | Good — won't corrode | Low | Most standard openings, budget-conscious builds |
| Aluminum | Very good strength-to-frame-size ratio | Requires marine-grade coating/finish to avoid pitting | Moderate — finish needs monitoring near the bay | Larger openings, contemporary designs |
| Fiberglass | Excellent, holds shape under load and heat | Excellent | Low | Higher-exposure elevations, long-term low-maintenance goals |
| Wood-clad | Good, but sensitive to installation quality | Poor without diligent upkeep | High | Interior aesthetic priority; we flag the moisture trade-offs upfront |
We don't push one material on every job. The right call depends on the opening size, the elevation's sun and rain exposure, and what you're trying to balance between upfront cost and long-term upkeep. What we won't do is install a product without documented Florida product approval just because it's cheaper — that's not a trade-off worth making on a coastal build.
Our Process for Safety Harbor Projects
Because we already work regularly in this part of Pinellas County, the process tends to move faster than it would with a crew unfamiliar with local permitting and inspection norms:
- On-site walk-through to measure openings, check framing condition, and confirm wind load/impact requirements for the specific address
- Written estimate with material options and an honest breakdown of cost drivers — size, glass package, and frame material
- Permit pulled and product approvals documented before any window is ordered
- Coordination with your builder or GC if this is part of new construction or an addition, so window install lines up with framing and dry-in schedules
- Installation following the sequence above, with photos at the flashing and sealant stages before the wall closes up
- Final inspection walk-through covering operation, drainage, and sealant lines
Signs an Installation Was Done Right
Whether you're evaluating our work or a previous contractor's, these are the practical things worth checking:
- Sealant lines are continuous, smooth, and free of gaps — not just caulk smeared over a problem
- No daylight or drafts visible around the frame when the window is closed
- Weep holes at the sill are clear and unobstructed, not painted or caulked shut
- Window operates smoothly without excessive force on locks or cranks
- Documentation exists — permit, product approval, and inspection sign-off — not just a verbal assurance
- No visible staining or soft spots on interior trim or drywall near the window months after install
Why Hiring a Crew That Already Works Safety Harbor Matters
Permitting and inspection can run through the City of Safety Harbor or through Pinellas County depending on the property, and requirements around product approval documentation get checked closely in this part of Florida because of the wind-borne debris designation. A crew that already handles this paperwork regularly moves through it without the delays that come from a contractor doing it for the first time. Just as important, local familiarity means the crew has already seen how Safety Harbor's mix of older bay-front homes and newer construction behaves — where moisture tends to collect, how prior wind events have stressed openings, and what inspectors in the area typically flag. None of that is a substitute for doing the work correctly, but it does mean fewer surprises and fewer delays between measuring and move-in.
Timing the Window Install Into Your Build or Renovation
If this is part of new construction or an addition, window install timing is tighter than most homeowners expect. Windows generally need to go in after framing inspection but before the house wrap and exterior finish are closed in — and ideally before the structure sits open through a heavy rain event. On a renovation that reframes an opening, the same logic applies: the window should go in as soon as the rough opening is sound and dry, not left exposed while other trades finish their scope. We coordinate directly with your builder or GC to hit that window, because a delay here tends to cascade into delays for siding, stucco, and interior trim.
If you're planning new-construction windows for a Safety Harbor home — new build, addition, or a gut renovation — we're glad to walk the site, look at your openings, and give you a straight answer on what it'll take. The estimate is free, there's no pressure, and you can use the form below to get started.